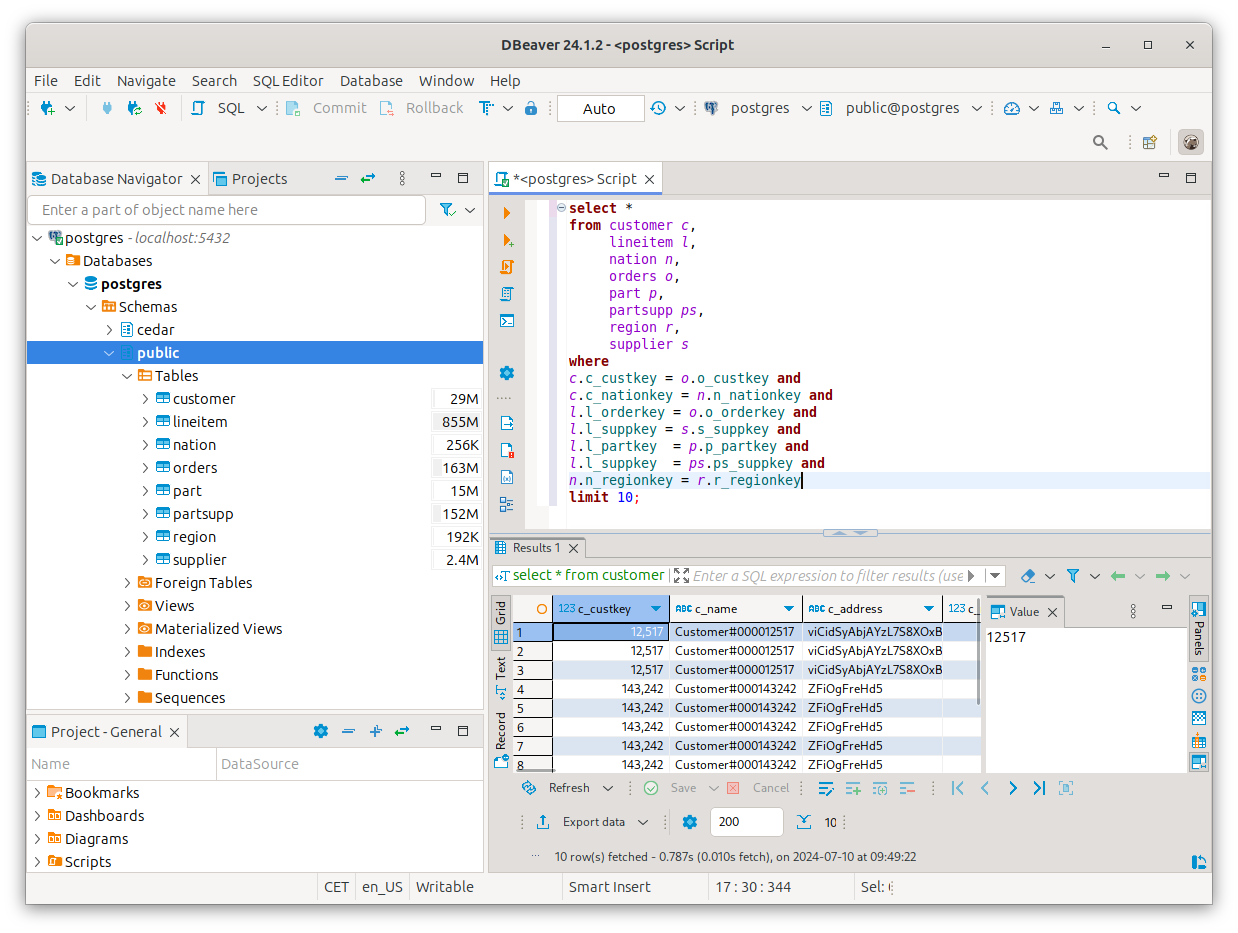
DBeaver
You can connect to CedarDB using DBeaver Community, the free universal database tool. You can use DBeaver to connect to CedarDB and view your database, manage your schema, and insert or update values in tables.
Set up DBeaver
Install DBeaver
Install DBeaver Community from its download page.
Start DBeaver
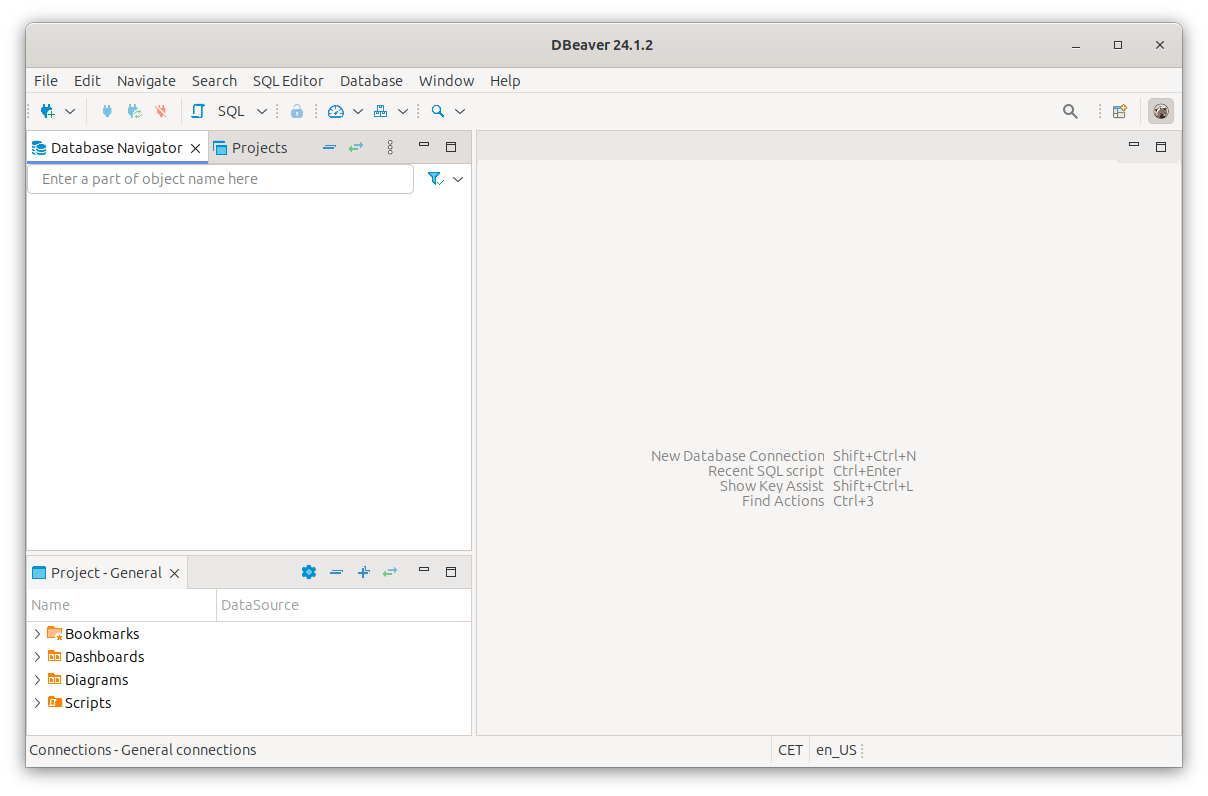
After starting DBeaver, and before you connect to CedarDB, the initial interface will be empty.
Add a CedarDB connection
To connect to CedarDB, create a new database connection with the shown keyboard shortcut or by clicking the
corresponding ![]() icon.
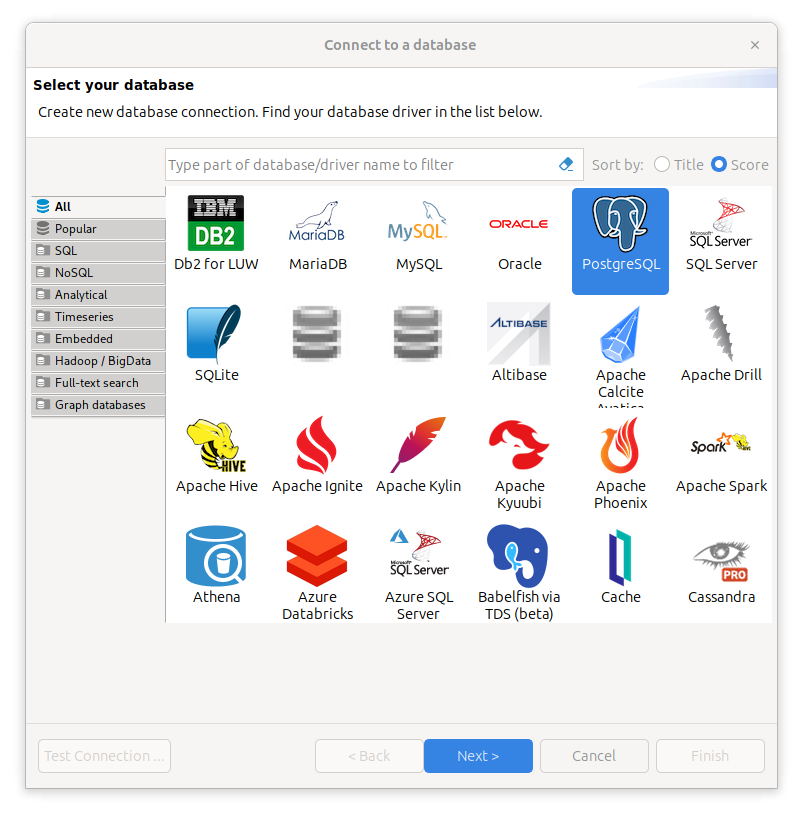
In the following wizard, you can use the PostgreSQL driver to connect to CedarDB.
icon.
In the following wizard, you can use the PostgreSQL driver to connect to CedarDB.
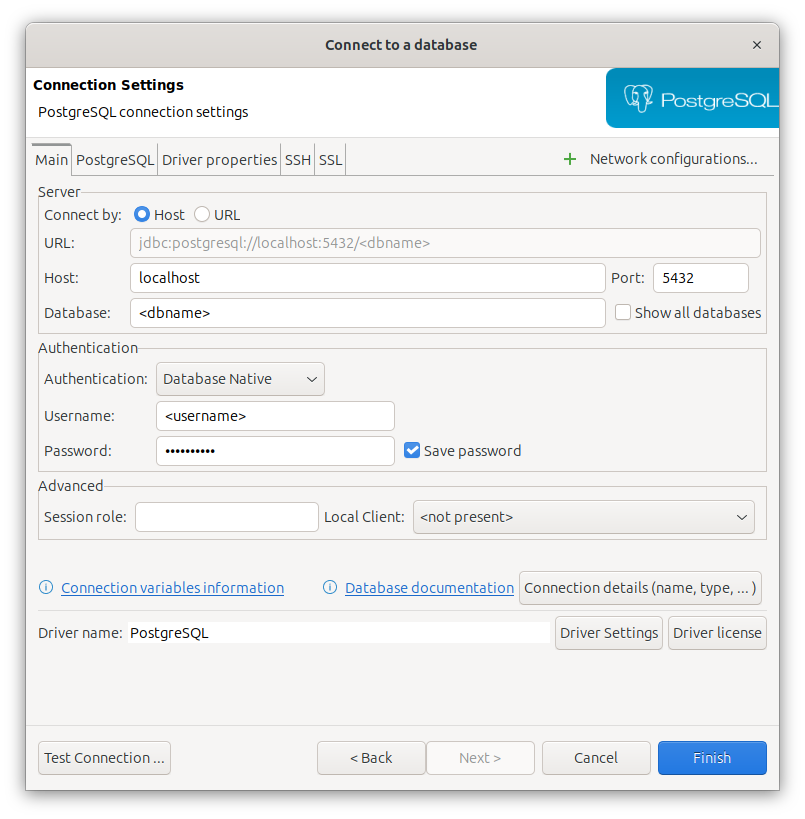
In the next screen, enter your CedarDB connection settings like so:
Test the connection
You can test the connection with the “Test Connection …” button, which verifies your connection credentials. When everything is correct, the test completes successfully.
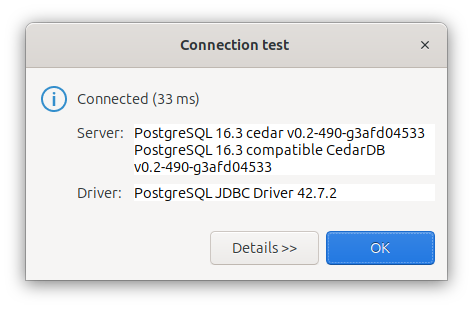
In case your system needs advanced configuration, please refer to the official docs.
Features
This is a brief overview of the features you can use with DBeaver. For more in-depth information, use DBeaver’s getting started guide.
Schema
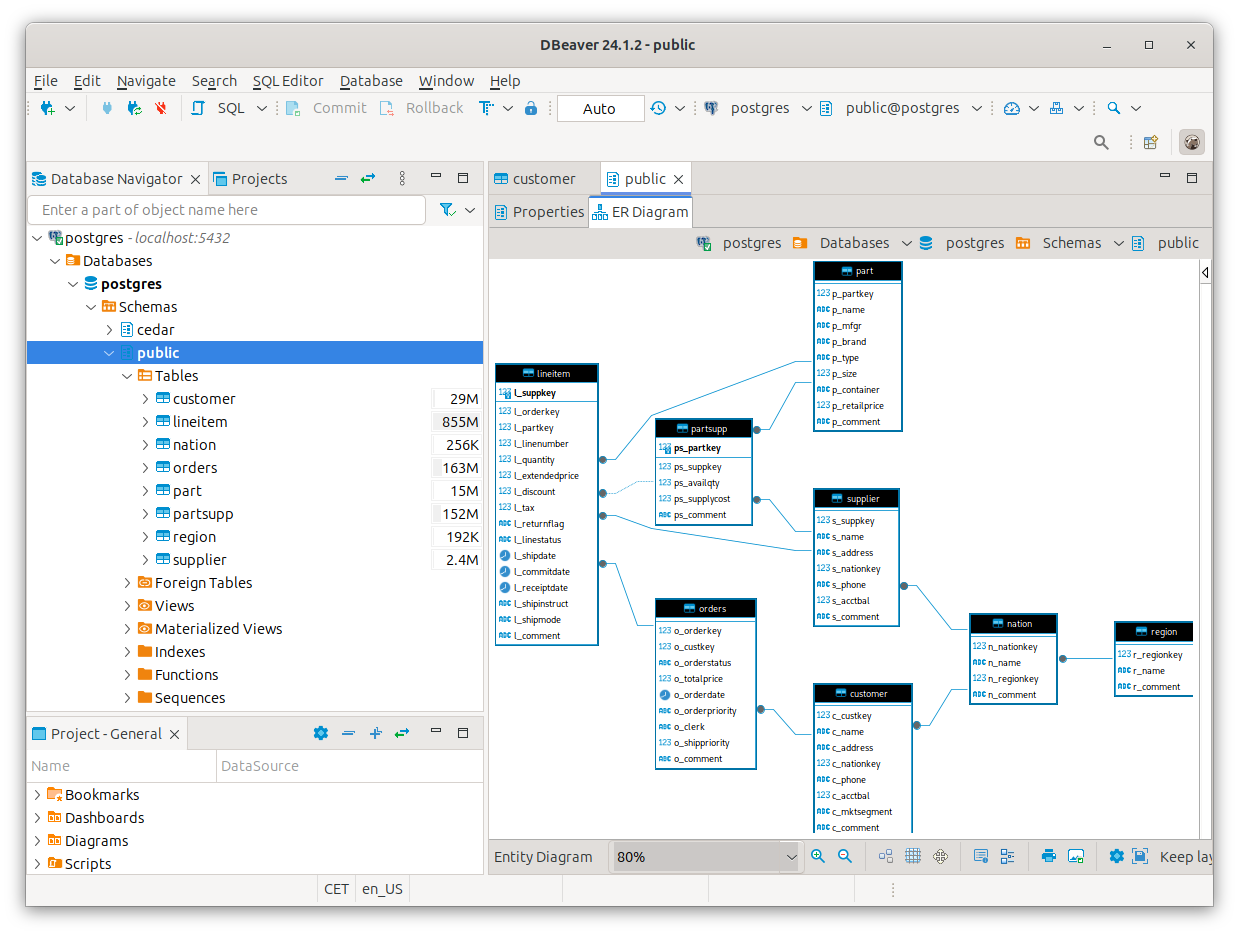
For an overview of your database, you can open its schemas in the database navigator view on the left. This shows the current schema with all visible tables and their used storage space. When you select a schema, you can also display an entity diagram showing all tables with their relations as connections by foreign keys.
Tables
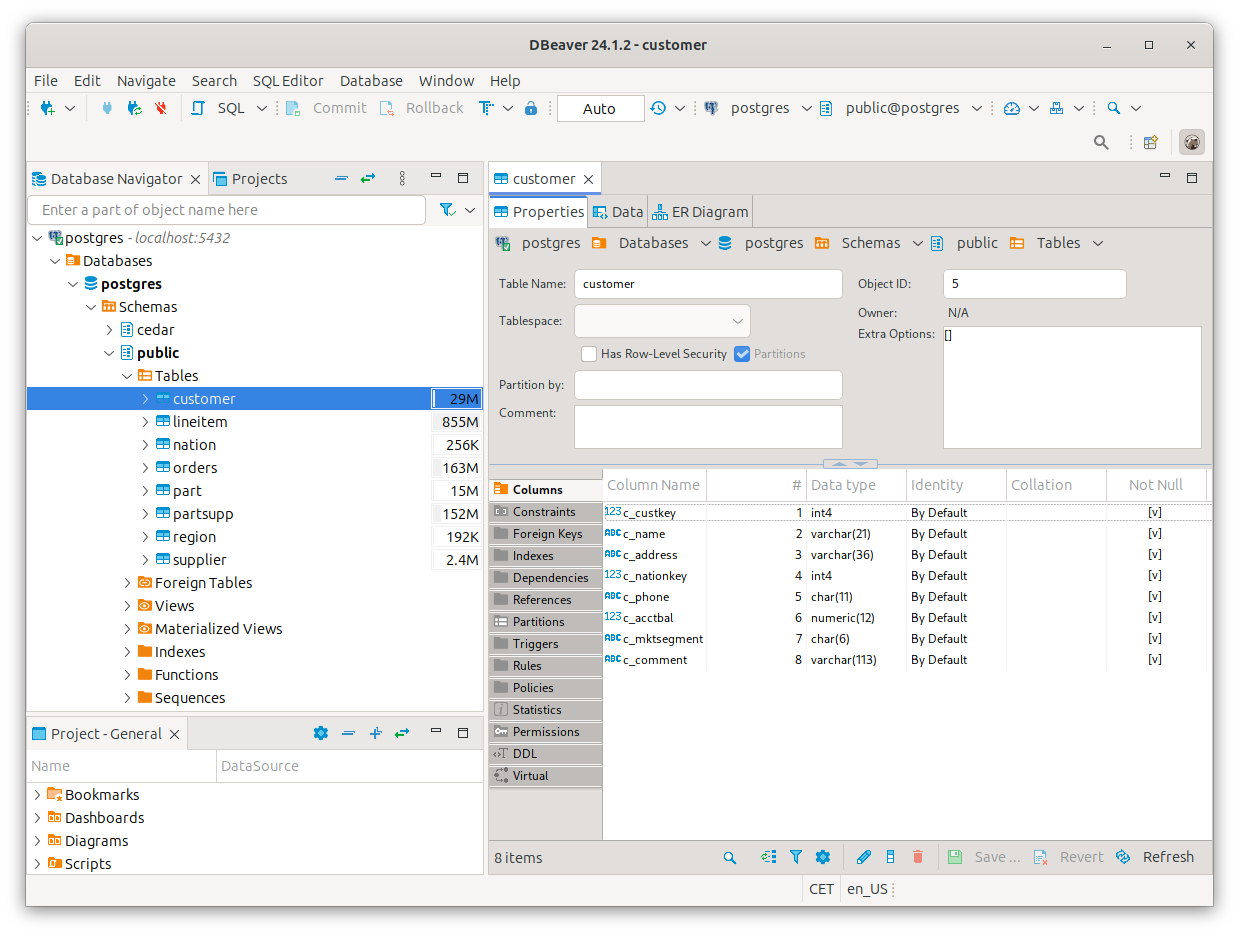
When selecting a table, you can see all its columns in the Properties tab shown below. In the second tab, “Data”, you can view and edit the data contained in the table.
Queries
To write SQL queries, you can open the SQL Editor via the menu bar, or with the SQL toolbar entry. In this editor, you can enter arbitrary SQL scripts and execute them in the current database. This DBeaver SQL editor has convenient auto-complete functionality to help you write SQL queries quickly.
